Make a stool with woodworking techniques
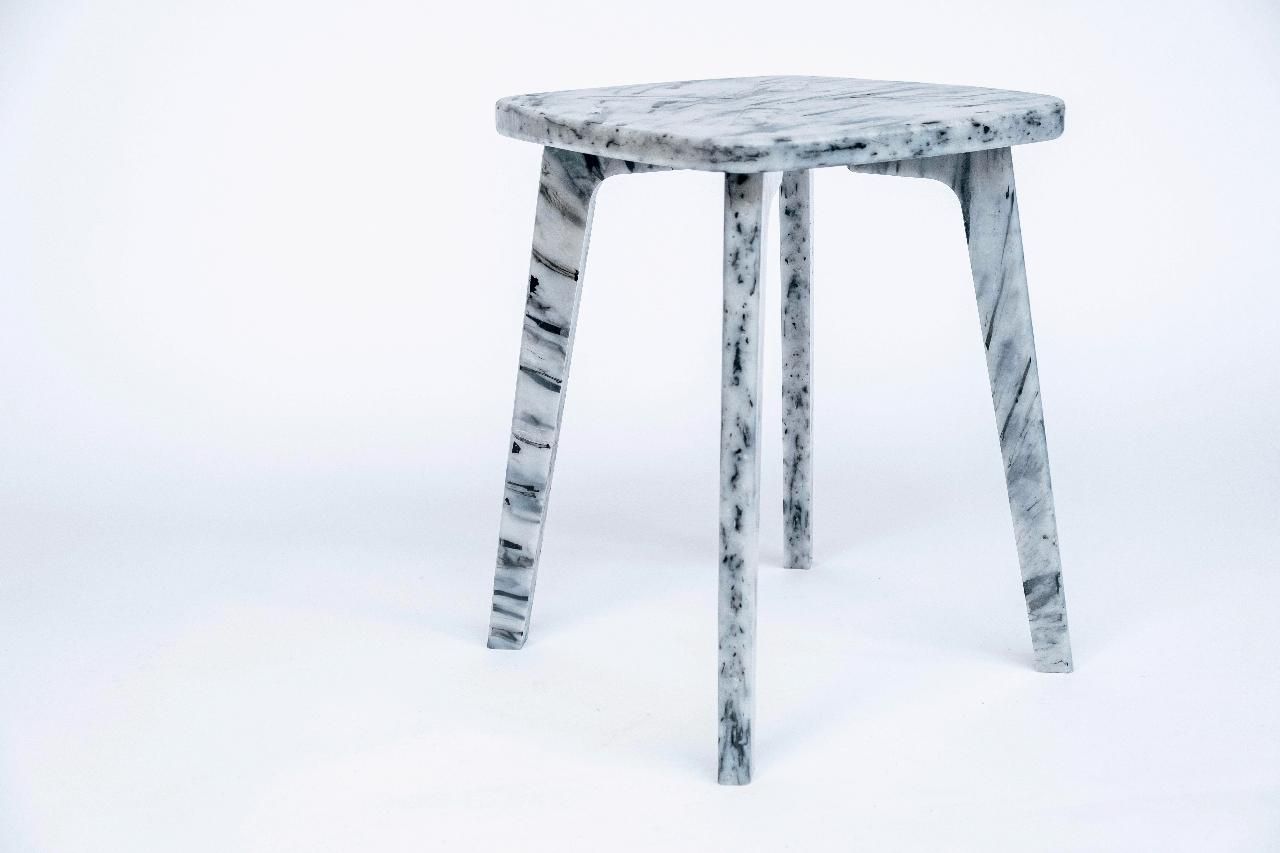
Learn how to make a stool only using woodworking techniques. Cutting HDPE is one of the techniques that gives the most shiny outcome without any extra steps.productHDPEsheetpress
More Information
1
Get ready
Okay, so before jumping into the building process, get an overview of what you need to follow this How-to.
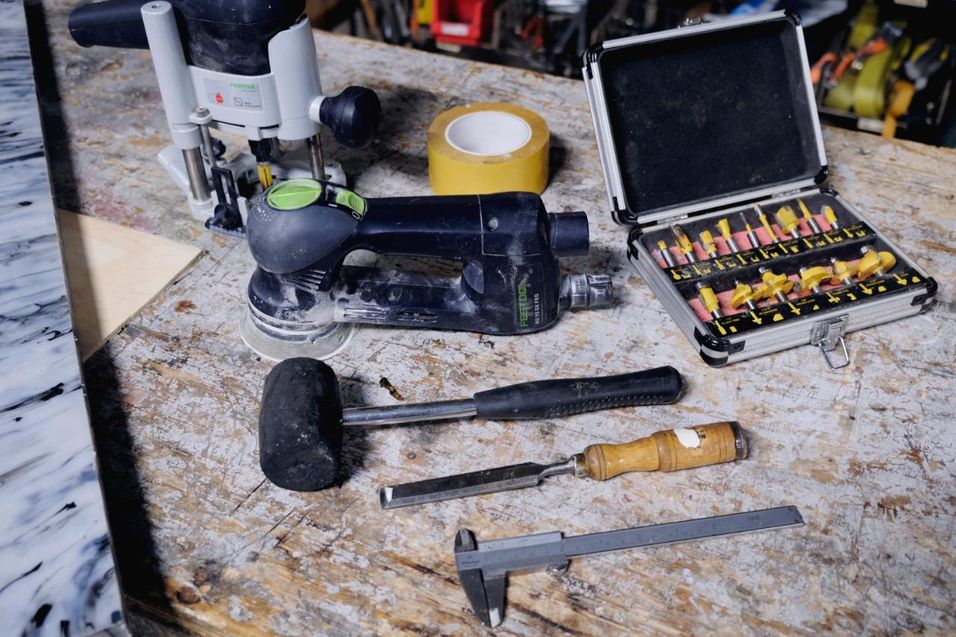
First, download the files attached at the top of this How-to and check the part list to know exactly which tools and materials are needed.
You can make this stool applying basic woodworking tools and techniques.
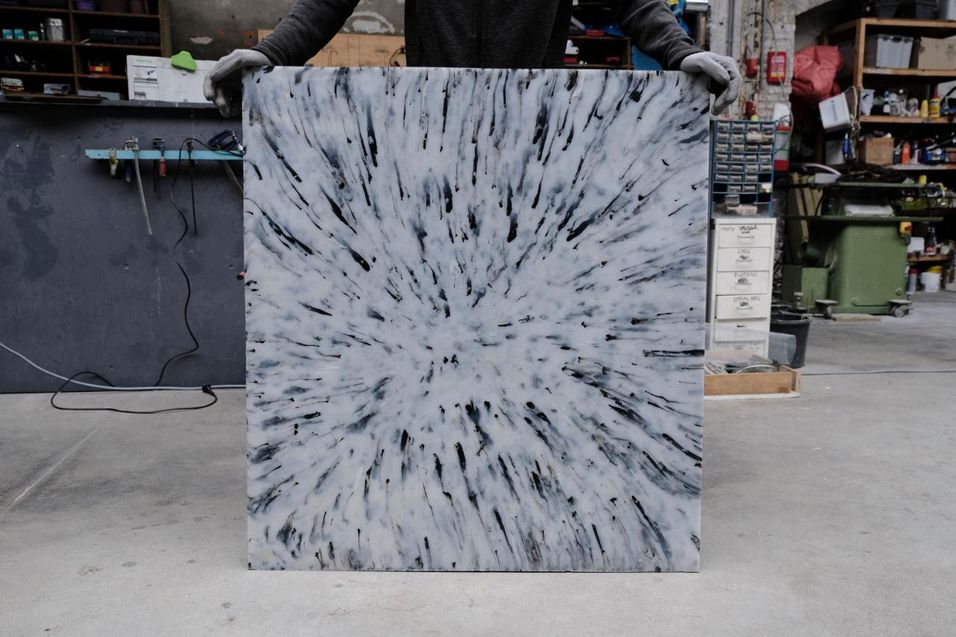
It's made entirely out of a plastic sheet, so you’ll need to get one first or make one if you have a sheetpress :)
Related links:
How to make sheets 👉 https://community.preciousplastic.com/academy/build/sheetpressrun
Find sheets on the Bazar👉 bazar.preciousplastic.com

2
Overview of the product
The assembly of this stool works with tight fittings (aka tolerances). The part of the legs that goes through the stool top have to be 0.9mm bigger than the hole. This in combination with the properties of the material will make a really tight fit.
In our case we are using a 28mm thick sheet, so the dimension of the holes has to be 27.1mm. Make sure to first check the thickness of your sheet and adapt the 3D model of the wood jigs to your needs. In the download files you’ll find the dimensions that are susceptible of change marked in red.

3
Laser cut jigs
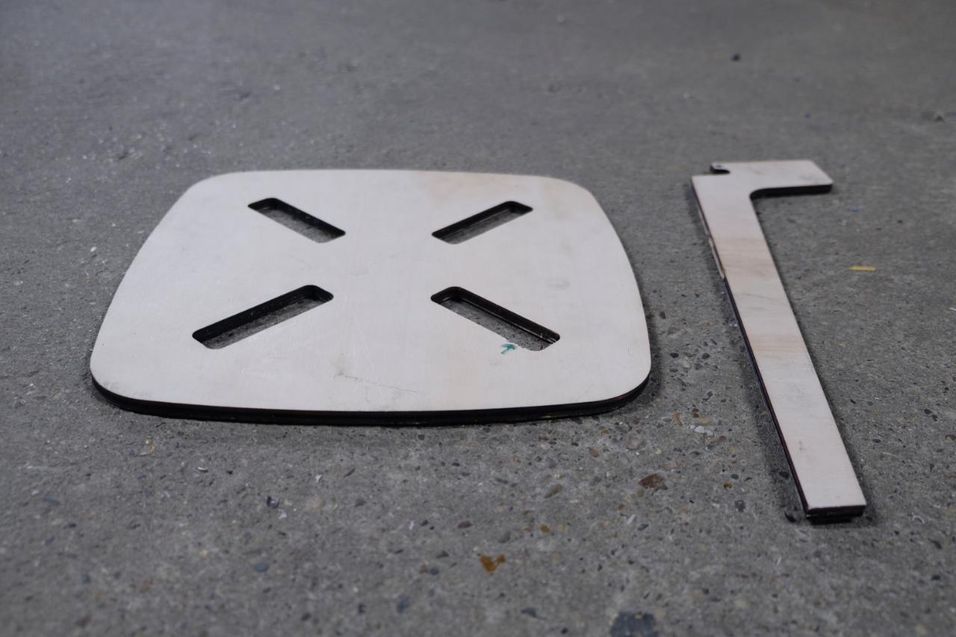
Once we have double checked the dimensions, we are going to create the patterns we’ll use to mark and cut the different parts of the stool. One for the top and another one for the legs. As we could do this repeated times is recommended to make them out of wood. In this case we will use 9mm plywood, but could be up to 12mm.
One way of cutting this jigs is by using a laser cutter. This is a precise and affordable technique that will guarantee high precision (<0.2mm tolerance).
4
Transfer lines to the plastic sheet
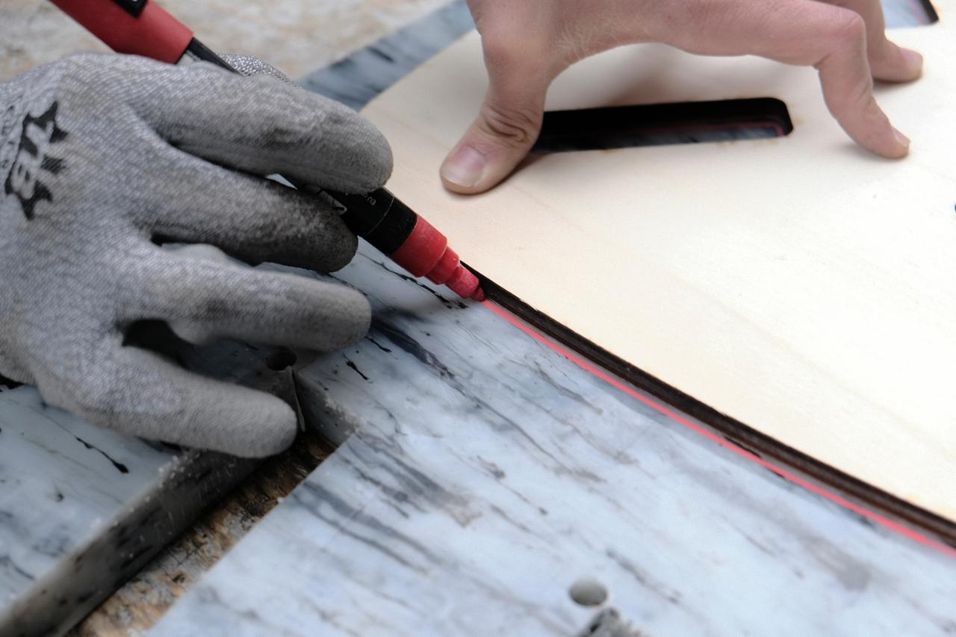
The next step is to decide where to cut in our plastic sheet. Depending on the quality of your plastic sheet you’ll do this differently.
You should strive for an efficient usage of the material. But if the quality of your sheet has a huge deviation in the thickness you may need to find a good spot first.
In the download files you can find one example where the legs are placed parallely in order to guarantee the same thickness when assembling.


5
Cut roughly with the jigsaw all the parts
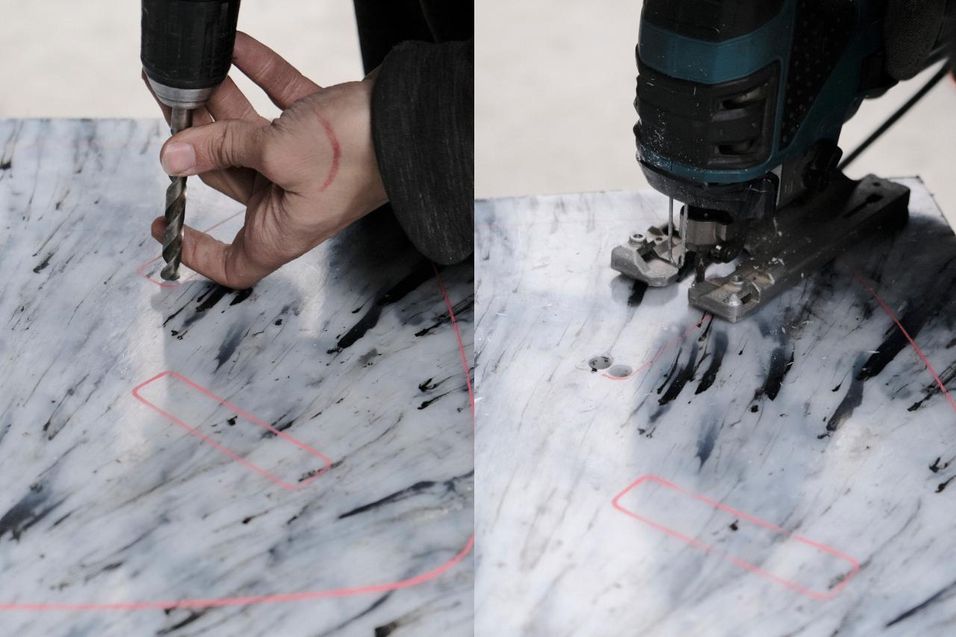
Once we have the piece marked we just have to cut on the other side of the line with the jigsaw. At this point the cut doesn’t has to be super precise since we are going to use the handrouter afterwards. Just remember to leave enough space (around 8-10mm) from the edge of the mark in order to avoid that the jigsaw deviation caused by the thickness affects the final piece.
If working on plastic with this tool is new to you, check the How-to "Cut with the Jigsaw” where you can find several tricks to cut plastic easier.
👉 https://community.preciousplastic.com/how-to/cut-plastic-jigsaw


6
Finish the legs
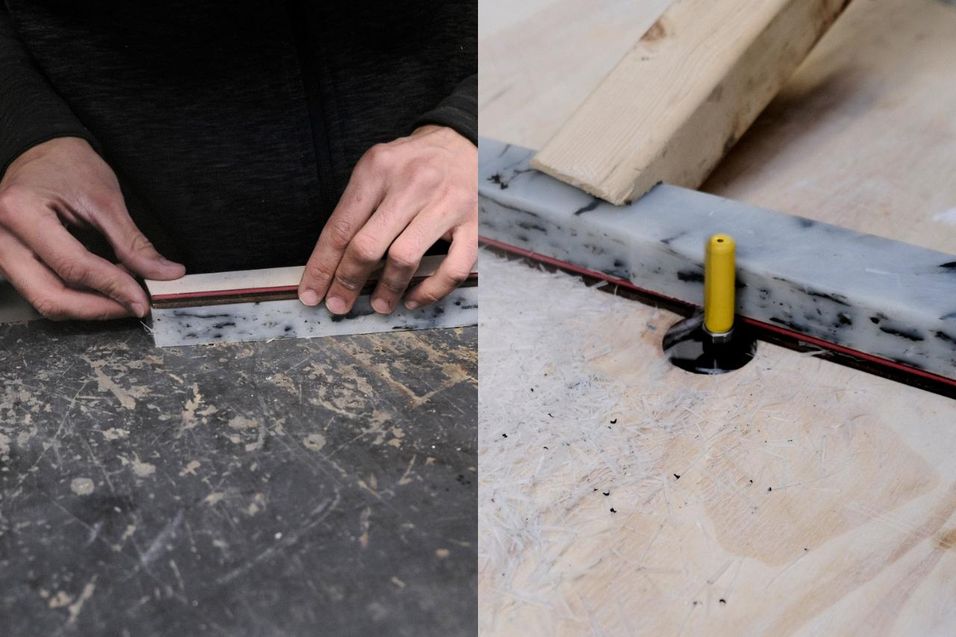
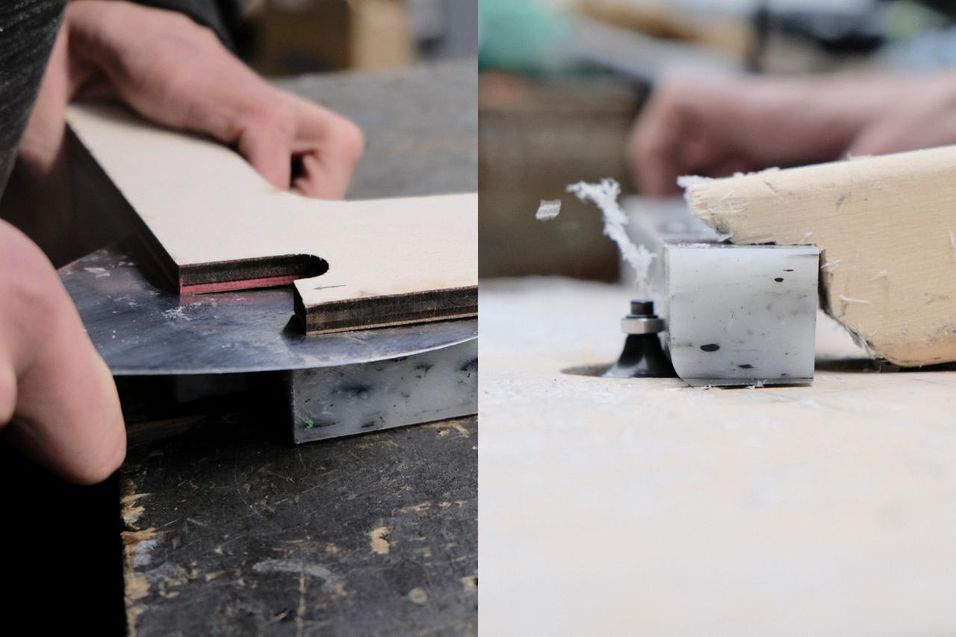
Use double sided strong tape to put the jigs on top making sure we have enough space to cut out all over the contour. You will use a combination of table router and manual handrouter in order to cut the whole safely. In both cases make sure the bearing is aligned with the height of the wooden jig, so it follows it’s form.
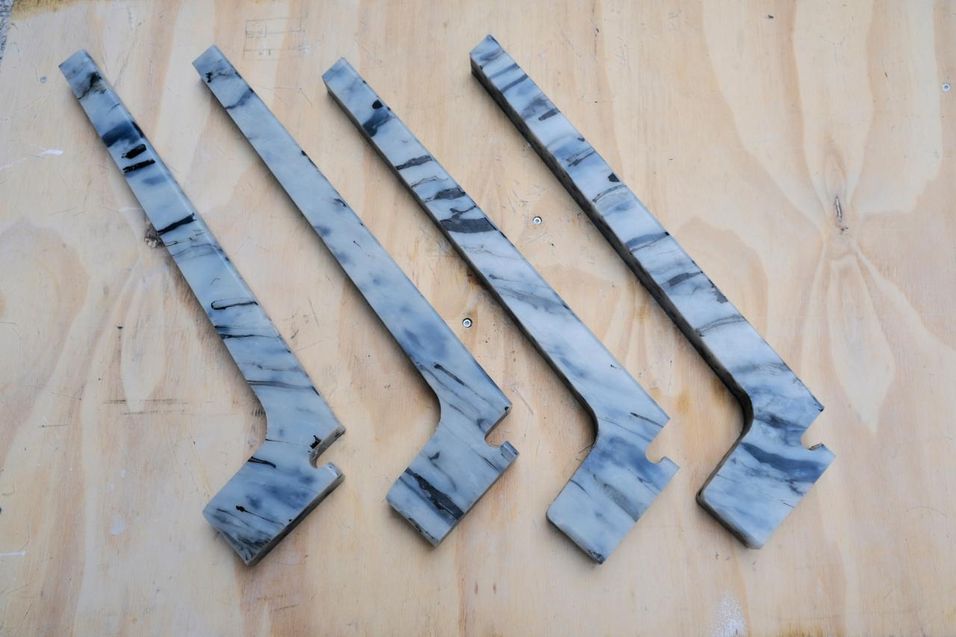
Once you finish with the leg, you can remove the jig by using a spatula before milling the edges with the 6mm radius counter bit. The result should be 4 legs with a perfect 90º cut and some smooth rounded parts. Check the downloading kit to know where to do it exactly.

7
Make the top
We’ll repeat a similar process to make the stool top.
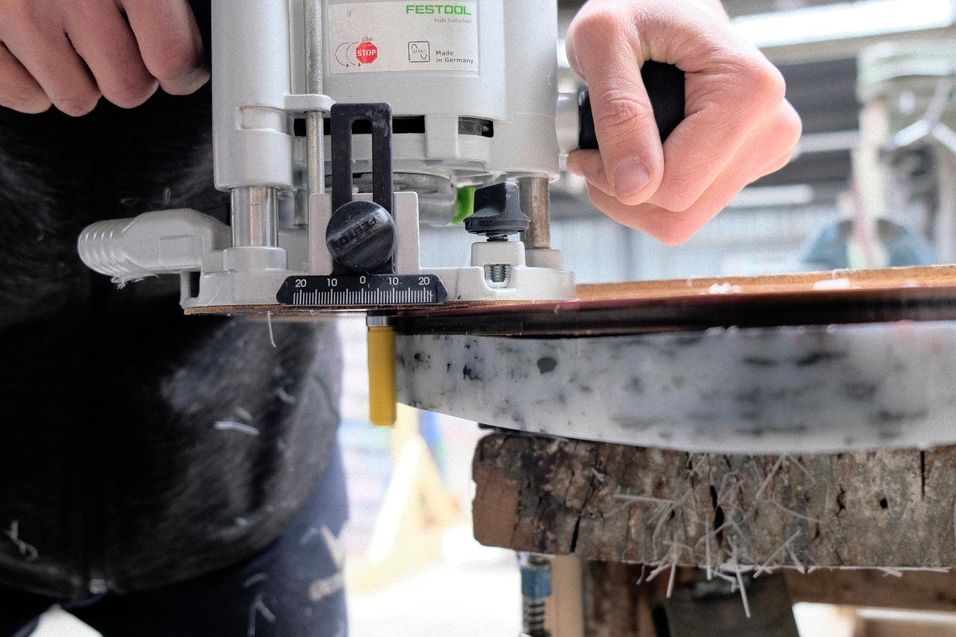
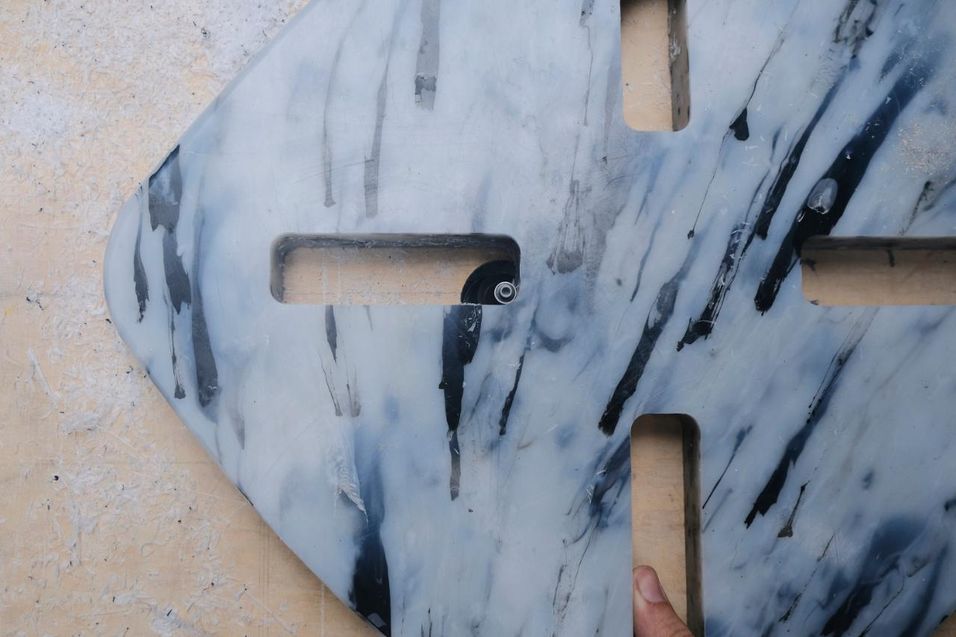
First we’ll fix the jig on top with double sided tape, you want to put enough so the jig doesn’t move later when pushing the tool against it.
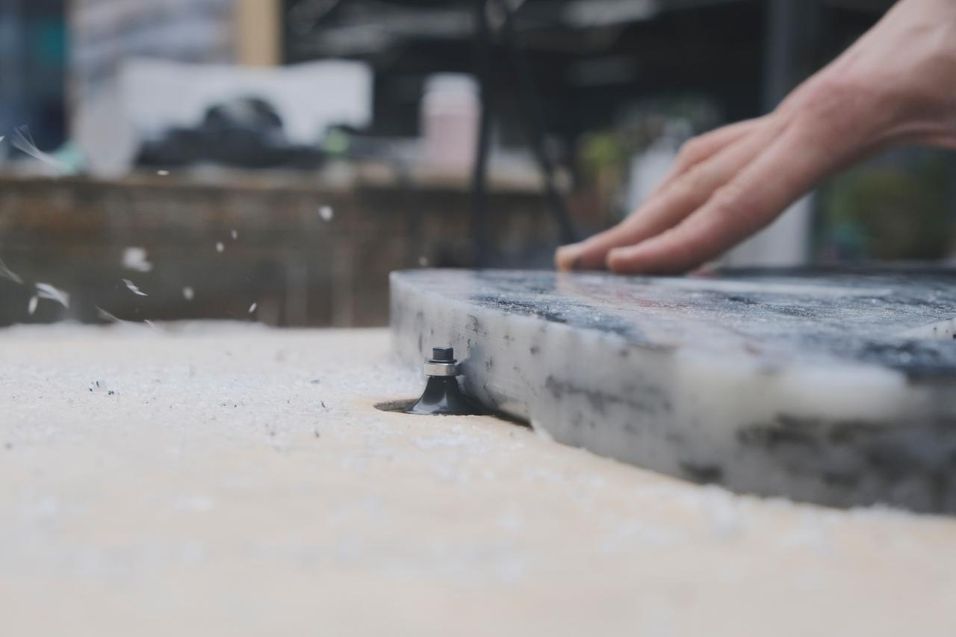
Using the handrouter for all the process first we’ll cut the outside and the four holes with the long bit, and later we’ll round the edges of all the contour of the stool as well as one of the small sides of the holes.
Check the download files to know exactly where to do it.

8
Finish the legs
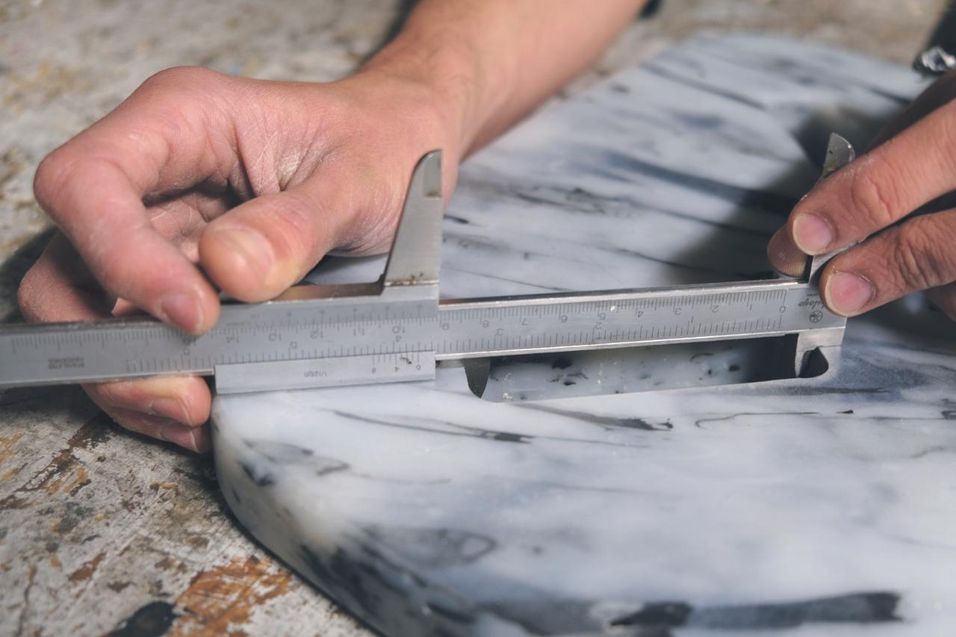
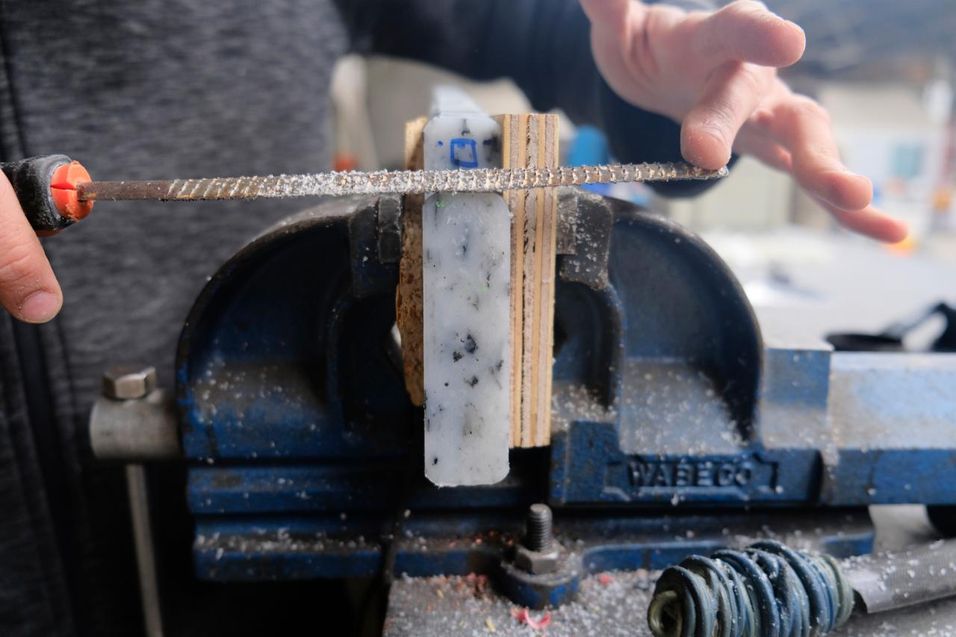
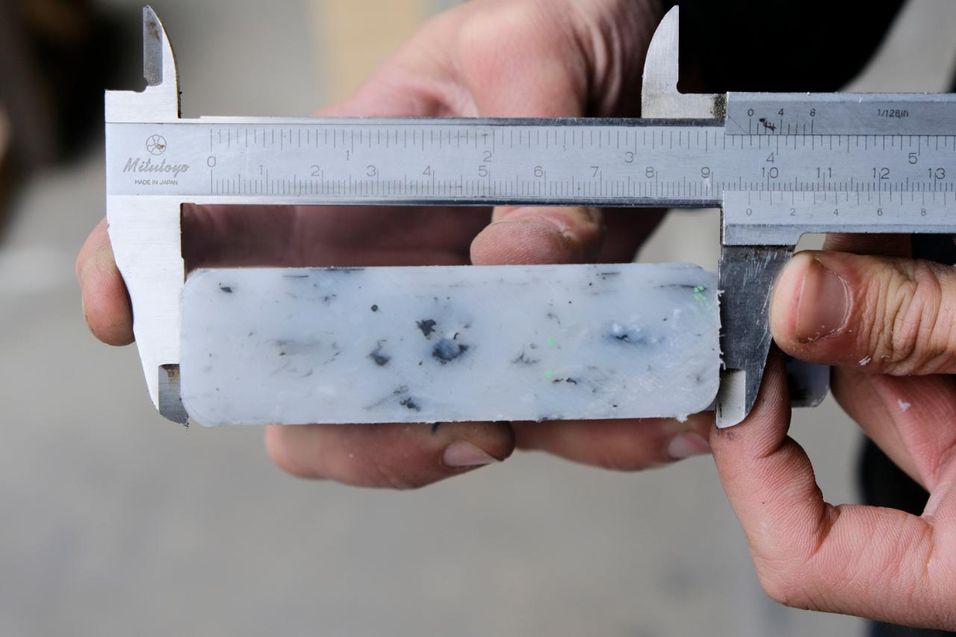
There’s one dimension that is on purpose bigger than needed. The reason why is so we can adjust it to the perfect size so it fits just tight. In order to do that we’ll have to measure the bigger length in one of the holes we just made in the stool top.
Then we’ll grab the legs and cut or sand down with a file the front so the final piece measures 0.8mm longer than the hole.
Example: if the hole measures 95.8mm we want the piece to measure 96.6mm
It is recommended to do it patiently since on this step we are defining partly how tight the piece is going to join.

9
Assembly
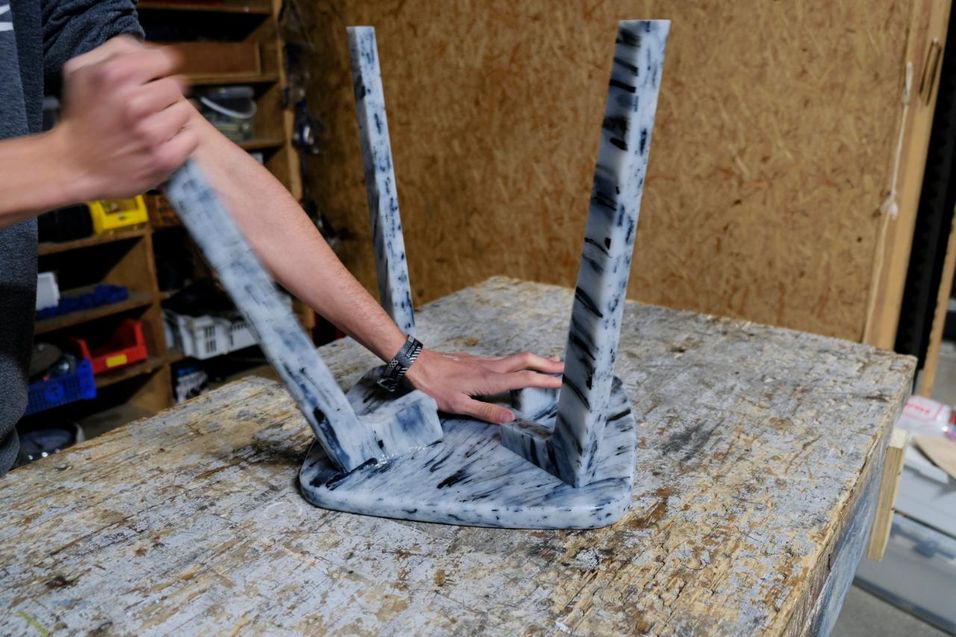
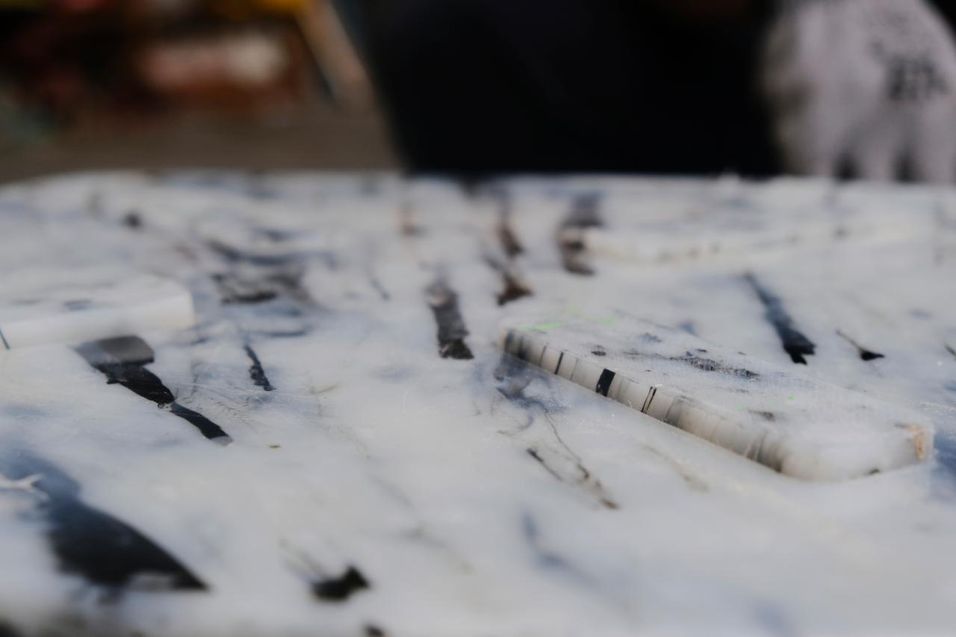
For the assembly it should be easy to situate the legs by hand and carefully hamer it till it fits on the position.
You will notice that the legs stick out a bit from the top, these parts should get removed and we’ll show you how in the next step.


10
Finish top
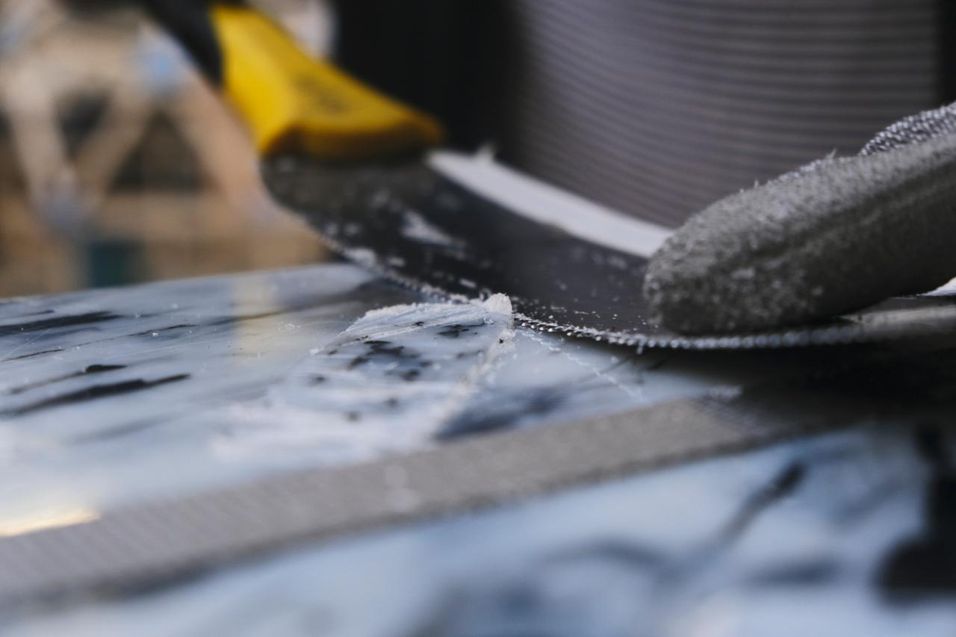
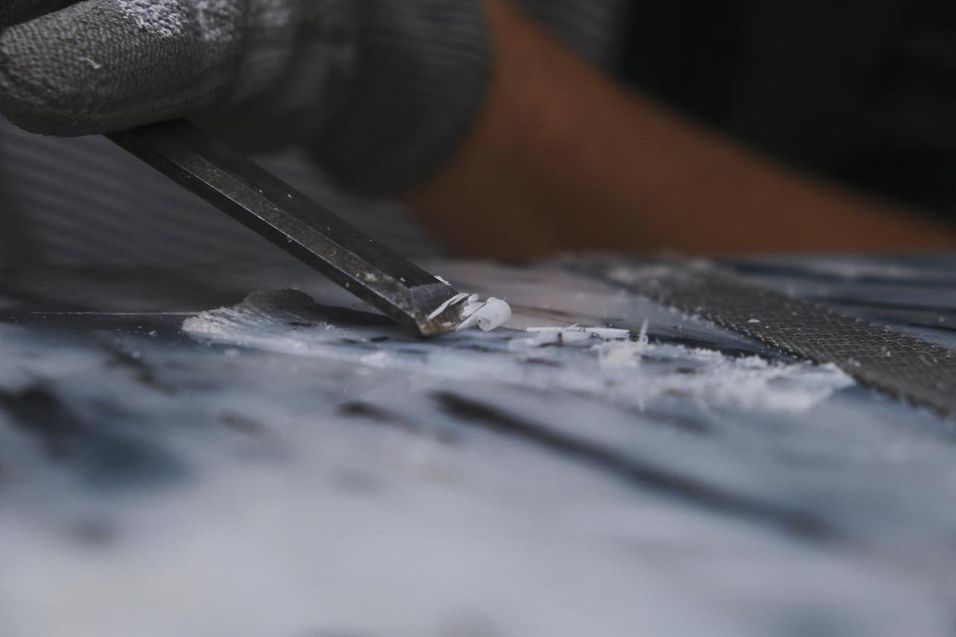
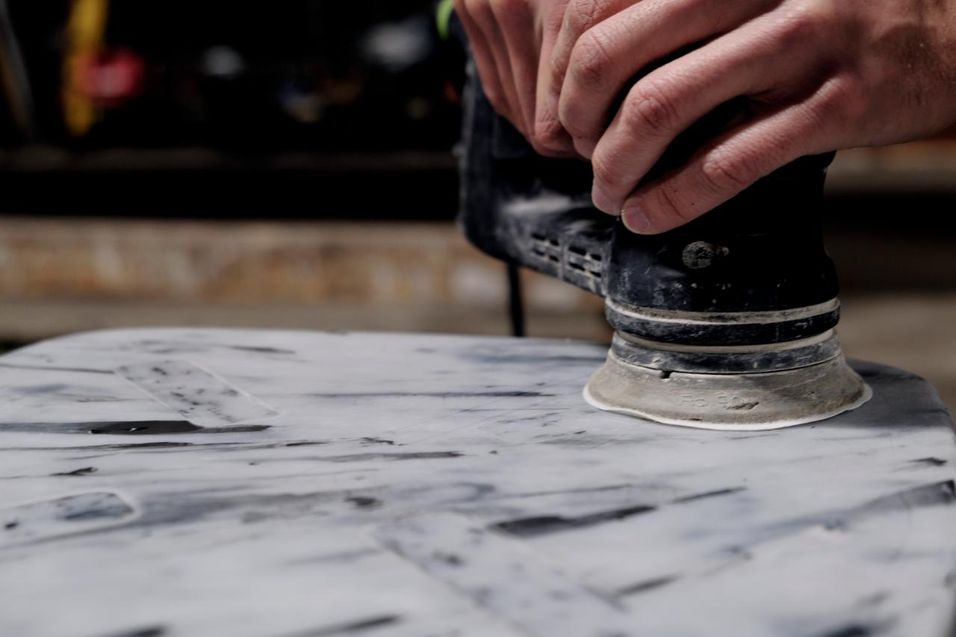
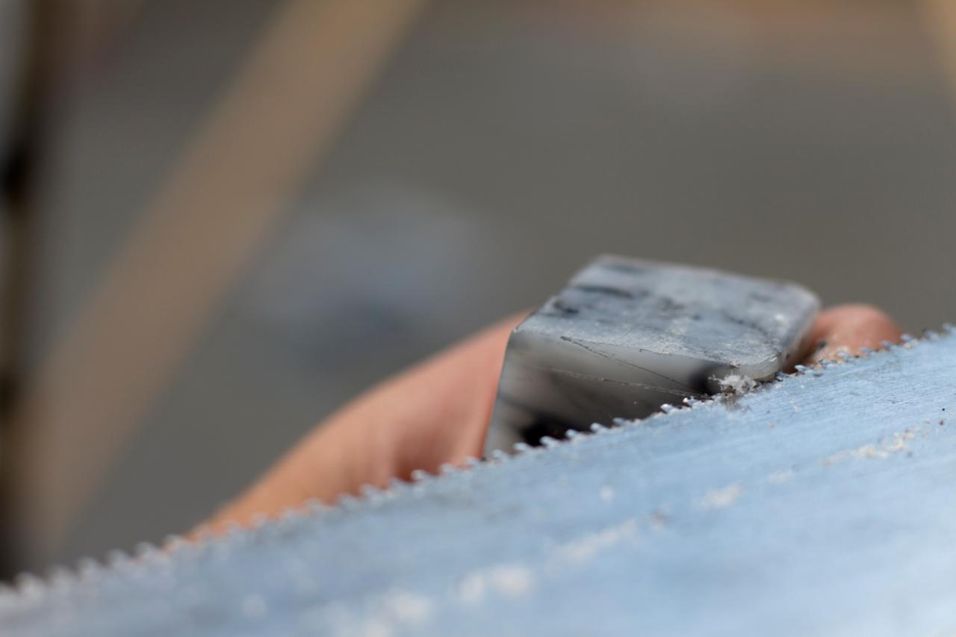
First use a flexible japanese saw in order to remove the part from the leg that sticks out from the top. Bend it and try to avoid deep scratches on the top. Once the majority of the material is removed you can use a chisel to take out the rest and making it as even and flat as possible.
Finally you can sand the top going from 400 to 1200.

11
Align legs
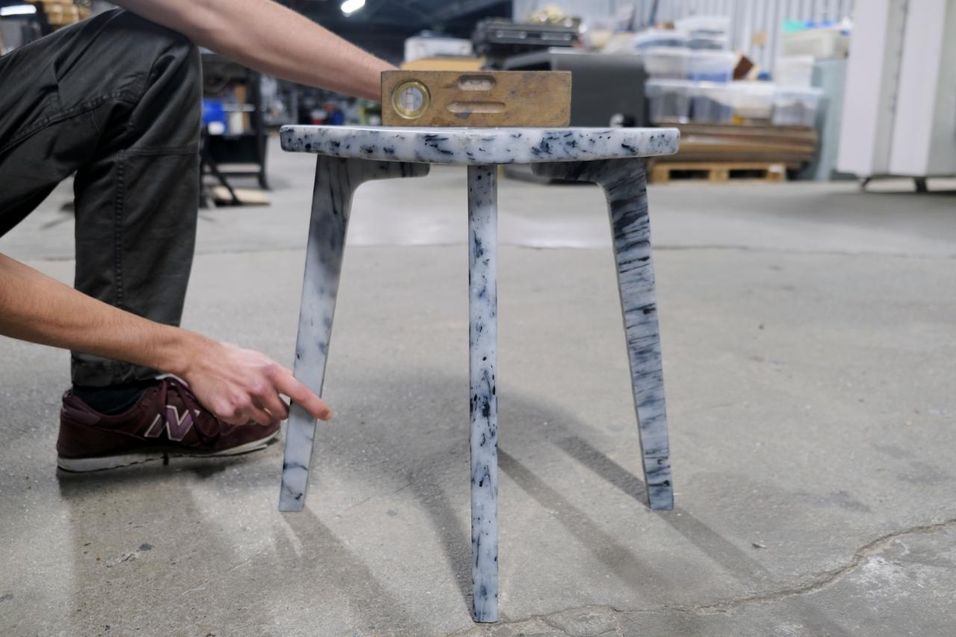
Next step is to make the stool even.
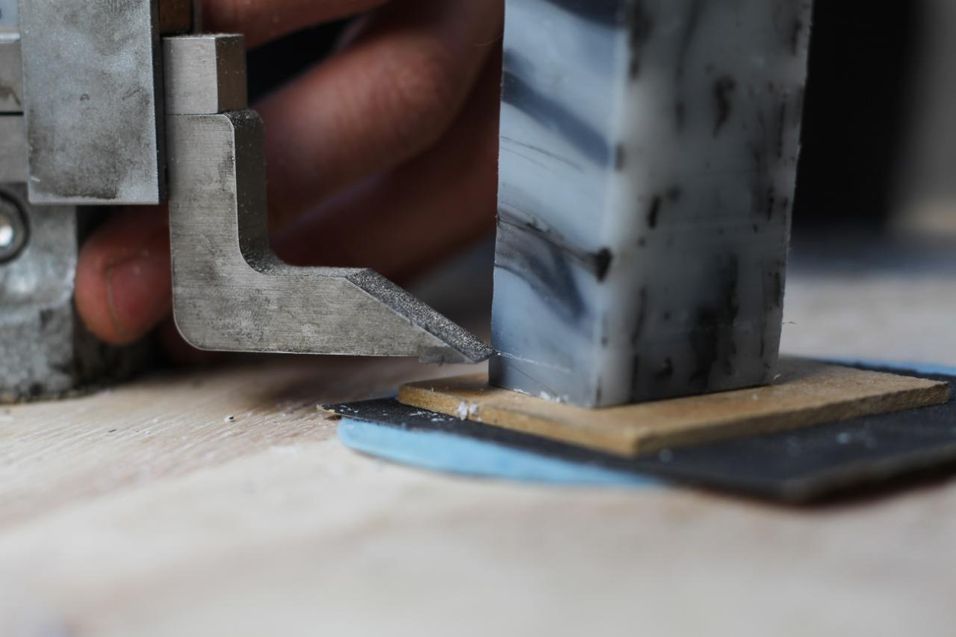
Use a level to know whether the stool sits straight or not and put wooden shims until it does. Once you are happy with how it feels, use a height caliper to mark all the legs at the same height.
fter doing that, cut them straight with a blade or sand them till you are happy with the result.

12
Stamping
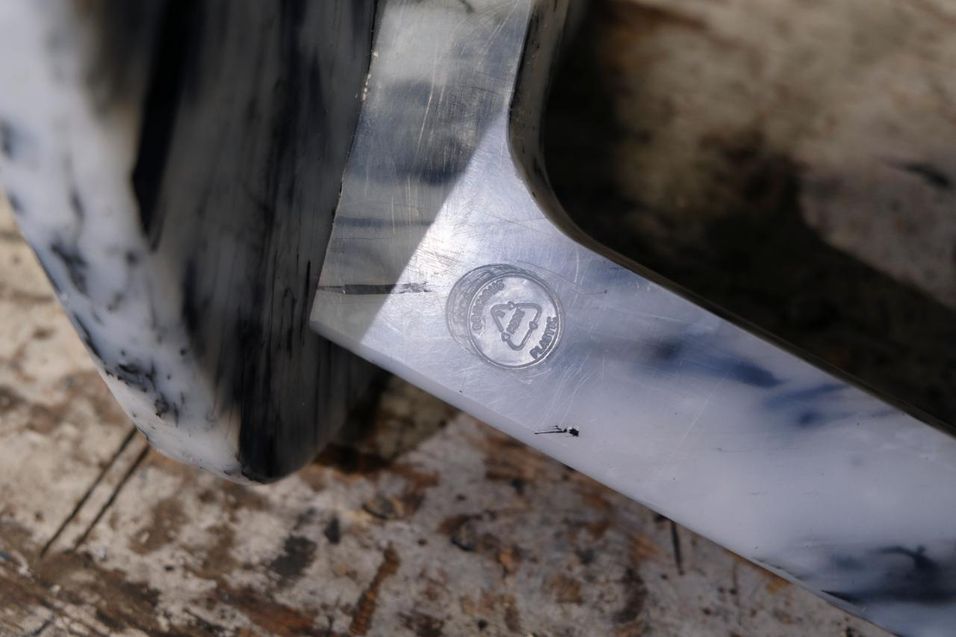
Before calling this piece done we have to make sure we mark it with the proper material code. In our case we are stamping it with the number 2 - HDPE. This is crucial later on to be able to identify what is it made of and what can be done with it.
13
Make it live long!
Congratulations, you made it! Enjoy and take care of your new stool.
This stool is designed to be disassembled easily. So in case a part breaks or you want to change something, just remove that piece and replace it with a new one.
Also the top can be always polished to make it shiny again. Even though the scratches can give a cool look over time.
If the piece cannot be reused or refurbished make sure to bring them to your local Precious Plastic workspace or recycle it in another responsible way :)
