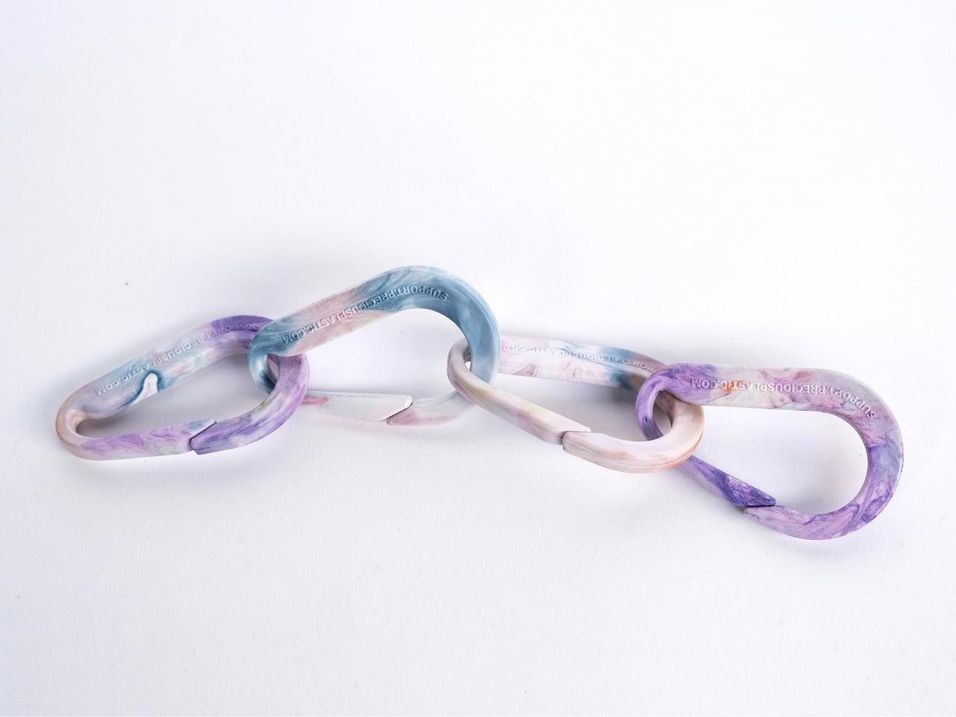
Carabiner mould (CNC vs. lasercut)
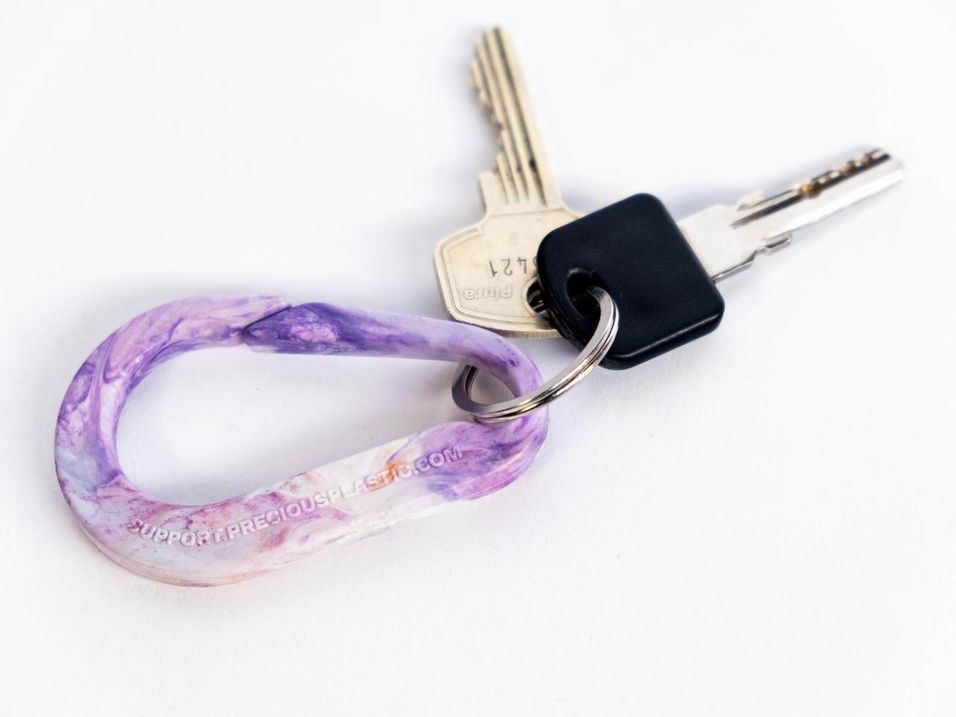
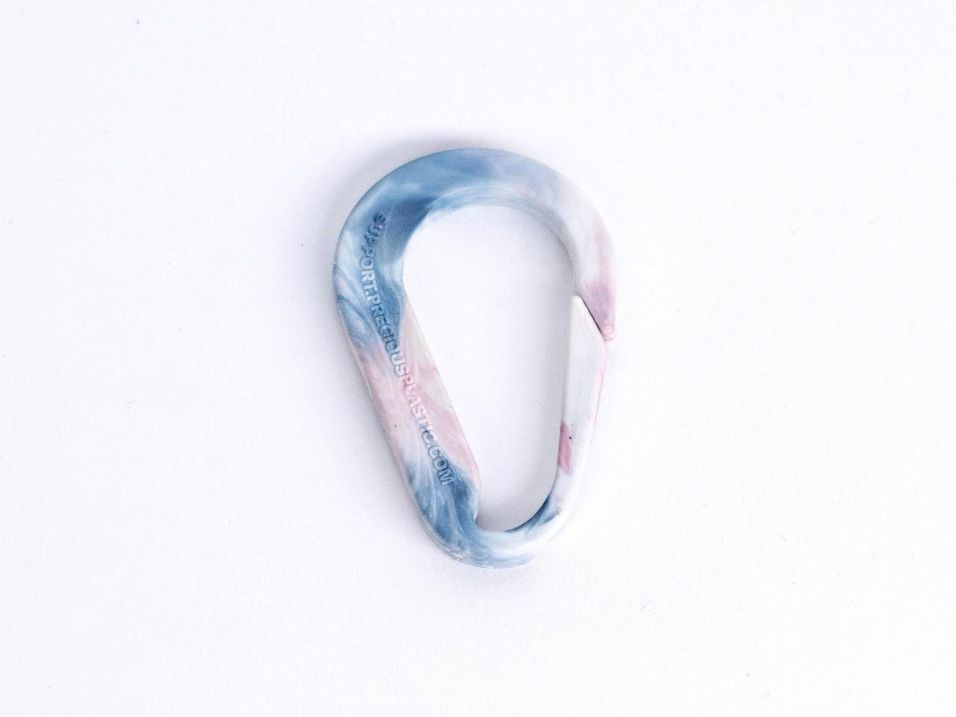
A carabiner is a useful token that can be given away after an injection moulding workshop at Precious Plastic. Its small size allows you to make up to 6 pieces in one mould, and no assembly needed after injection. Each of them will come out with a different marbling pattern, making them unique and memorable!productinjectionPPmould

More Information
1
CNC or laser cut?
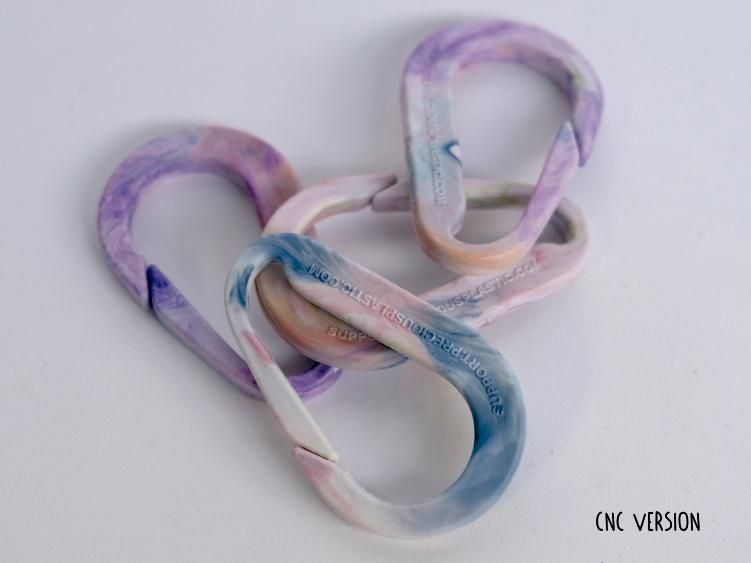
CNC moulds are precise and allow you to have a better surface finish rounded corners, also they are lightweight, durable and fast to unmould, since you can make products with draft angles, so it's ideal for bigger productions. However they can be very expensive and not super accessible.
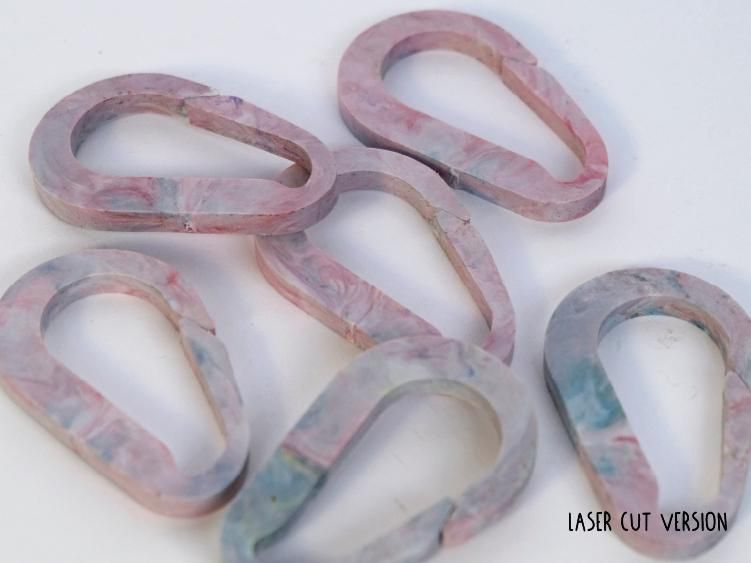
On the other hand, the laser cut version of this product will make you save some money and very probably is going to be easier for you to find someone to make this job for you! However steel density is 3 times higher than aluminum which makes it harder to work with, also it'll have less details, as you will only get the outline of the carabiner therefore the edges will be sharper.

2
CNC - Prepare the file
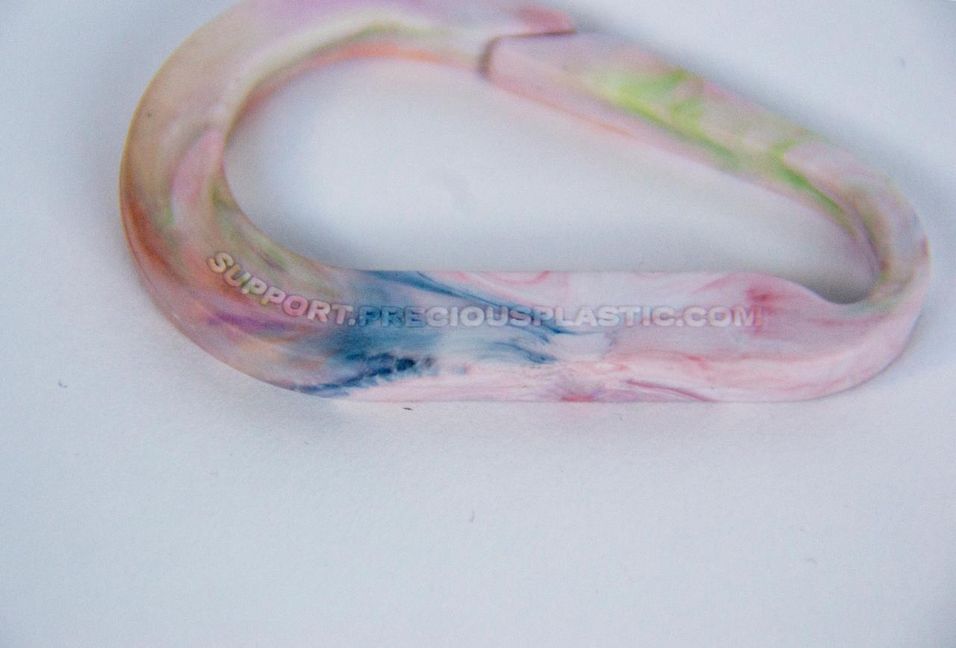
First of all, decide if you want to customise your carabiners or not. If you are already investing in the CNC cutting, it can make sense to take advantage and add some cool engravings.
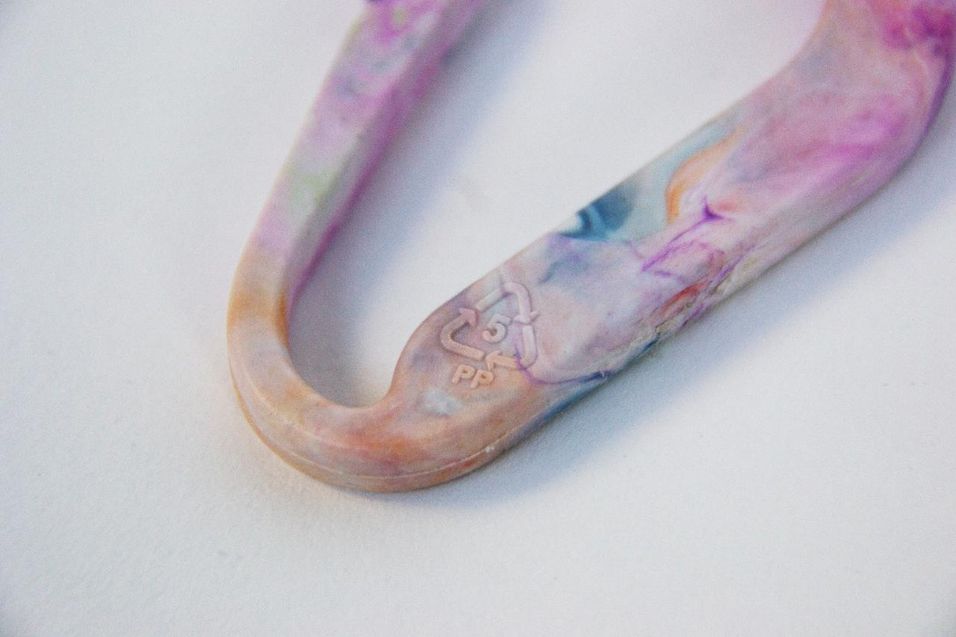
To make it even more functional, you can add your logo, web page and even the plastic type you will use (PP in this case), so then you’ll not need to stamp it afterwards, one step less! To know more about tips and tricks for CNC moulds go to the academy section.
Here some tips on how to make injection moulds:
👉 https://community.preciousplastic.com/academy/create/injection-moulds

3
CNC - Mould
After you customise you mould, you will be ready to send it to cnc. After you receive it, you’ll need to finish some details be able to use it with the injection machine. To know more about how to prepare your mould to use it with the injection machine, go to te link below.
Here some tips for using the Injection machine:
👉 https://community.preciousplastic.com/how-to/work-with-the-injection-machine

4
CNC - Prepare your material
The material we are going to use for this product is Polypropylene, because of its flexibility. This is very important to make these carabiners functional.
Try to use one source of PP as a base to make it as pure a possible (at least 70%) and then add a couple of colorful flakes from other source (also PP) to make it fun.
To fill up this mould you will need around 100 grams, I would recommend you to always fill up the barrel to be able to inject with more pressure!

5
CNC - Inject and finish
After injecting you should be able to take the carabiners from the mould just by twisting them.
Then you just need to remove the leftovers from the twisting process with a cutter.
Now your carabiners are ready to use!


6
Laser cut - Prepare the file
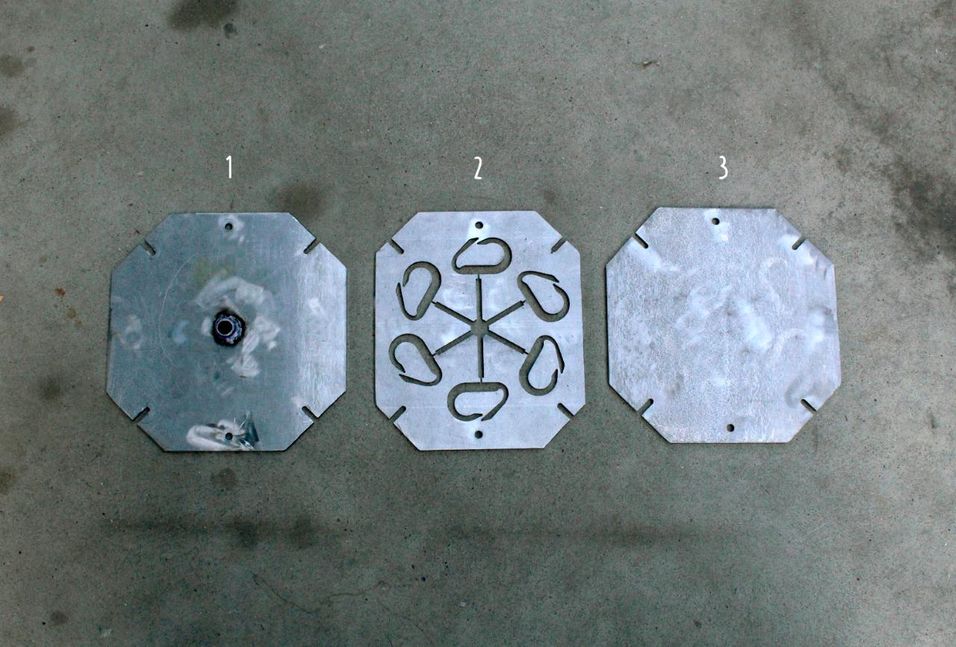
Download the file and send it to laser cut in steel, it’s important to ask for the middle plate (n°2) in 6 mm thick steel. This will determine the thickness of the final product.
The top and bottom plate (1 and 3) should be cut with 8-10 mm thick steel (the thicker the better, but also heavier!) to make the mould stronger and avoid bending while injecting.
(If you have other ways to reinforce moulds keeping it lighter, go for it! And don't forget to share (: ).
If you are good with the grinder you can also cut these two by yourself or just send everything to lasercut!
7
Laser cut - Finish the mould
After receiving your laser cut order you will probably need to sand the middle plate.
Depending on how dirty the cut is, either use the grinder or just do it by hand with sanding paper.
After this, weld the nozzle. It goes exactly to the center of the top plate with a 5 mm hole, so you can drill a bigger hole with the diameter of the nozzle.
Now close the mould, remember to tighten the bolts very well and your are ready to go!
.JPG?width=956&resize=contain)
.JPG?width=956&resize=contain)


8
Laser cut - Inject and finish
Time to inject!
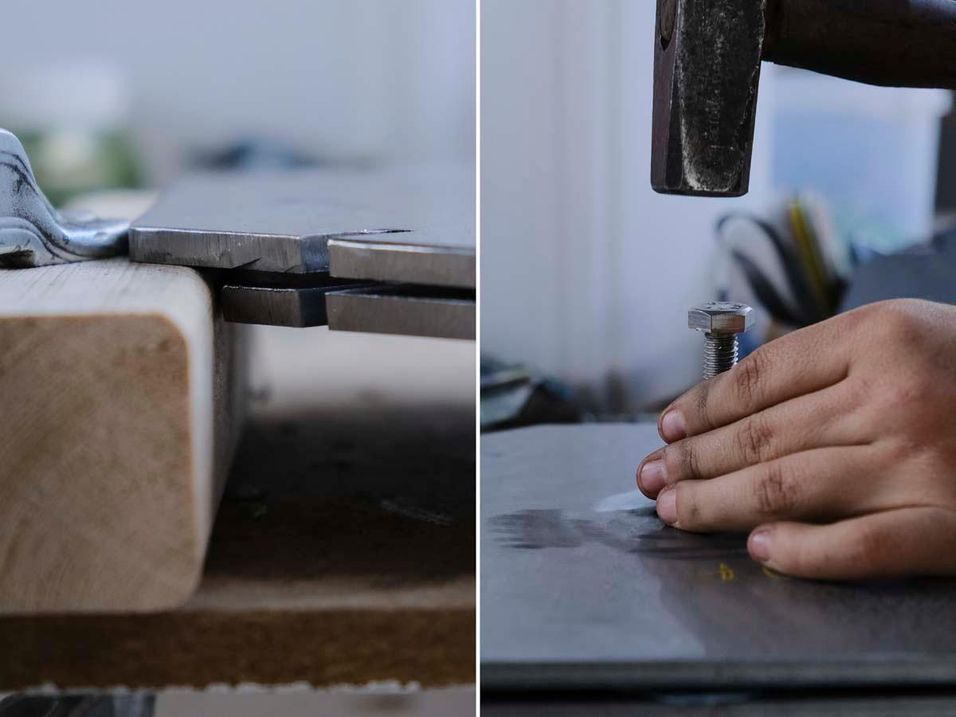
To separate the middle plate from the top plate, hammer a bolt into the nozzle, you will be able to support the top and middle part with two pieces of wood to do this step, as you can see in the first picture (that's why the middle one is sligthly smaller).
Afterwards tap the channels gently to take everything out from the mould. You can use something like a bolt for this.
Whenever it's out, twist the carabiner from the channel and finish it with a cutter.


9
Mark your products!
Last but not least, stamp your carabiners!
This is one of the most important steps and at the same time, the most forgotten. It’s very important to stamp your plastic in order to be able to recycle it in the future if its needed.
You can either engrave it by hand with a dremel directly into your mould or make a stamp which you can also use for other products.
Here you can find a tutorial on how to make a simple wire stamp:
👉 https://community.preciousplastic.com/how-to/make-a-simple-stamp-from-copper-wire


10
Done!
And here you go, you got your first bunch of carabiners!
Have fun with them and use them to inspire people about the hidden value of plastic waste :)
